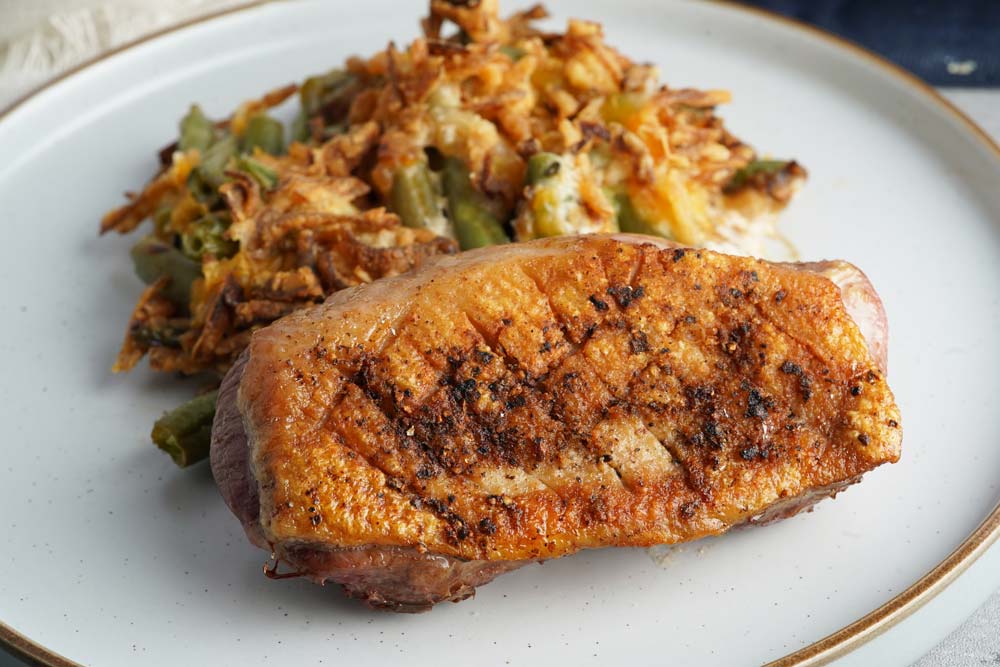
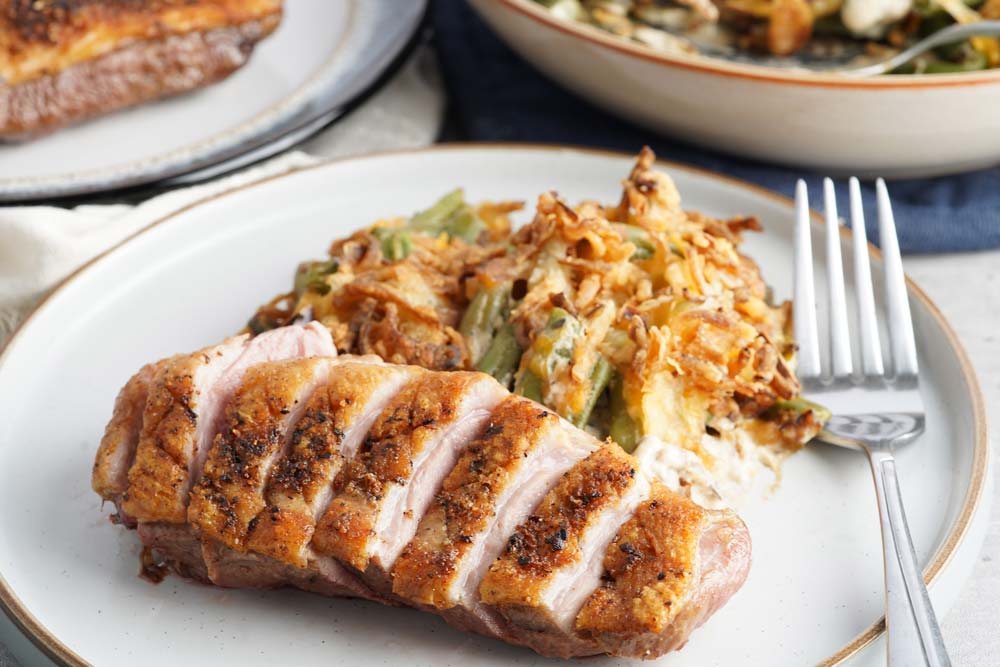
Air Fryer Duck Breast is crispy-skinned and tender, made right in your air fryer. Elevate your dinner game with this surprisingly easy dish that’ll make you feel like you’re dining in a five-star restaurant.
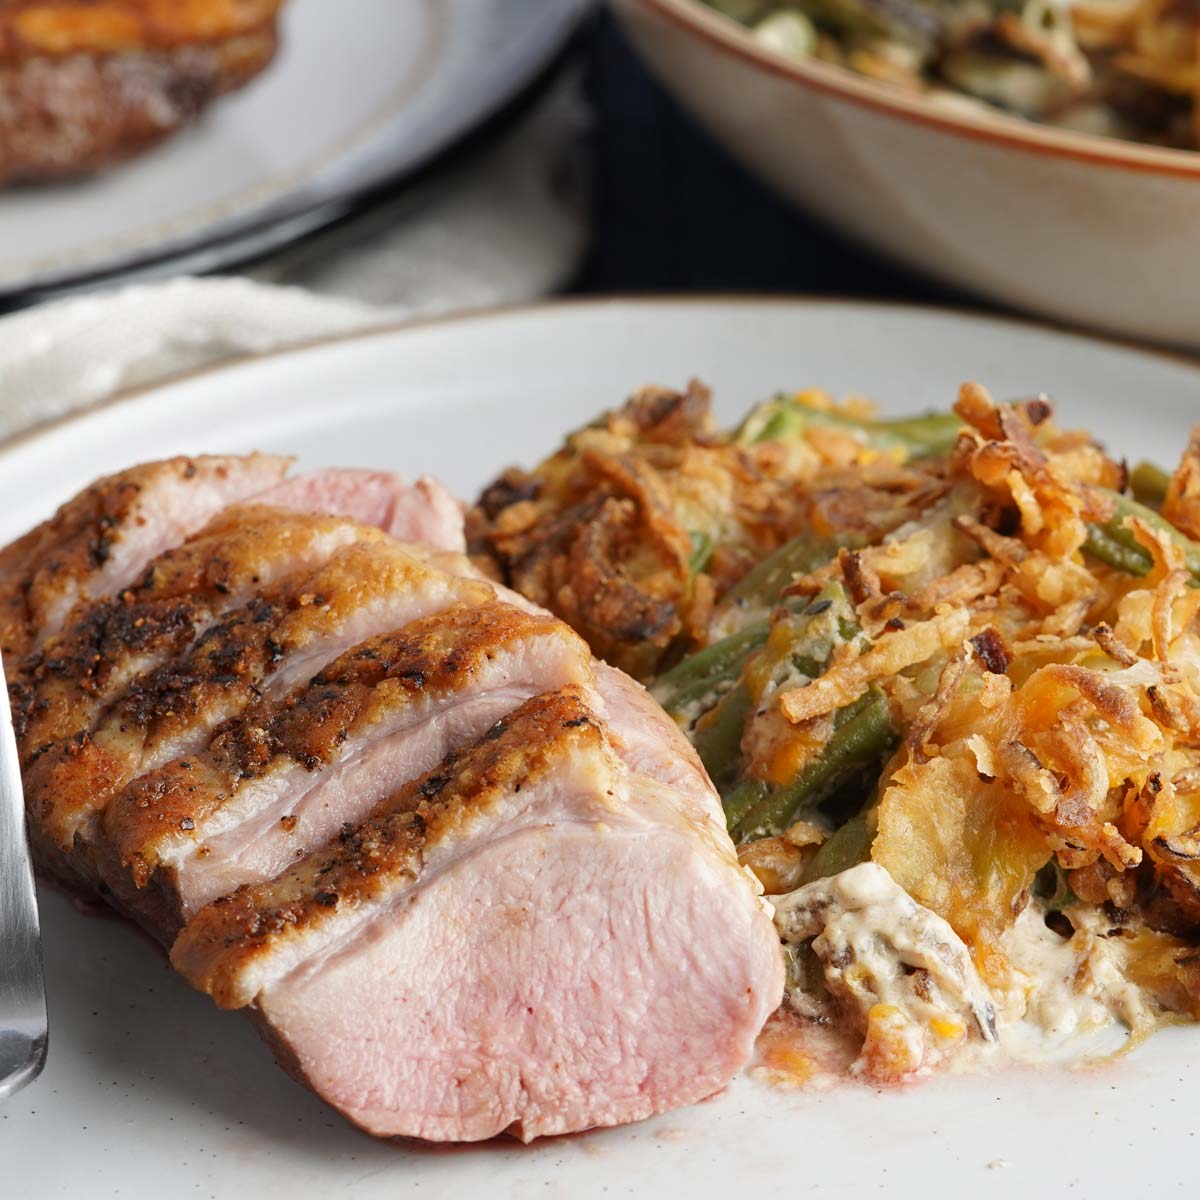
Duck breast might sound intimidating, but it’s actually simpler than you think, especially with the air fryer doing most of the heavy lifting. Imagine a crispy, salty skin giving way to succulent, pink meat. Best of all, this dish is ready in under 30 minutes.
And let’s not ignore the wow factor here. Serving duck instantly elevates any meal, making even a simple dinner feel like a special occasion. Intrigued? You should be. Let’s get cooking.
Why You’ll Love It
- Minimal Prep Work: With just three ingredients and a few simple steps, this dish is straightforward yet impressive.
- Restaurant-Quality: Seriously, this could easily be a dish served at a high-end eatery, but it’s made by you, in your air fryer.
- Healthy and Delicious: Duck is a lean protein and using an air fryer means less grease and fat, without compromising on taste.
» You might also like this Air Fryer Chicken Breast without Breading.
Ingredients You Need

- Duck breasts – You’re looking for boneless, skin-on duck breast which most frequently can be found in the frozen cases at the grocery, where they keep duck and other frozen poultry.
- Salt & ground black pepper – These are the only seasonings you need for a delicious crispy duck breast.
Equipment Information
- Air fryer: I use the 5.5-quart Ninja MaxXL basket-style air fryer. Angie uses this 5-quart Cosori Pro LE air fryer. We also both occasionally use the Ninja Woodfire Outdoor Grill that has an air fryer setting.
- Kitchen tongs: It’s very easy to remove food from your air fryer with kitchen tongs. I use these kitchen tongs that are silicon coated so they don’t scratch the interior.
- Meat thermometer: The only way to tell if meat is fully cooked to the right temperature is to use a meat thermometer. I use this Instant Read thermometer. It’s so quick to open the basket and check the temp.

Ninja® Foodi®XL 2-Basket Air Fryer
- 2 independent XL air fryer baskets
- Integrated Foodi® Smart Thermometer
- Cook 2 foods 2 ways that finish at the same time
Expert Tips for Duck Breast
- To achieve that crave-worthy crispy skin and properly rendered fat, thoroughly dry the duck breast with paper towels before placing it in the air fryer; any moisture will inhibit crisping.
- Cooking at a lower temp doesn’t yield crispy skin. Stick to 400°F and be sure to preheat your air fryer for 5 minutes for optimal results.
- The USDA recommends cooking duck breasts to an internal temperature of 165°F/ 74°C, which is well done. That’s overkill to me. I prefer my duck breast at a lower temp of 145°F.
- You do not need to spray the basket or the duck with oil to get the skin crispy. It has enough fat to do that on its own.
How to Make Air Fryer Duck Breast
Step 1: Preparation
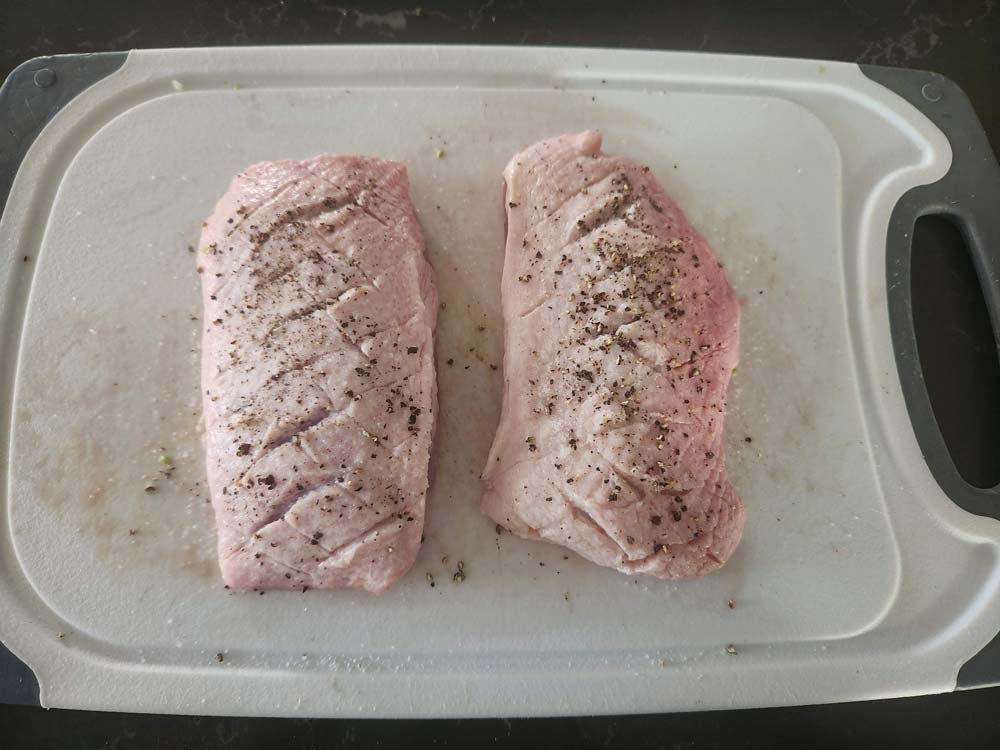
Pat dry the duck breast with paper towels, aiming to get the skin as dry as possible.
Using a razor-sharp knife, score the skin in a crisscross pattern, being cautious to only cut the skin and not the meat.
Rub the salt and ground black pepper generously onto the duck breast.
Step 2: Cook
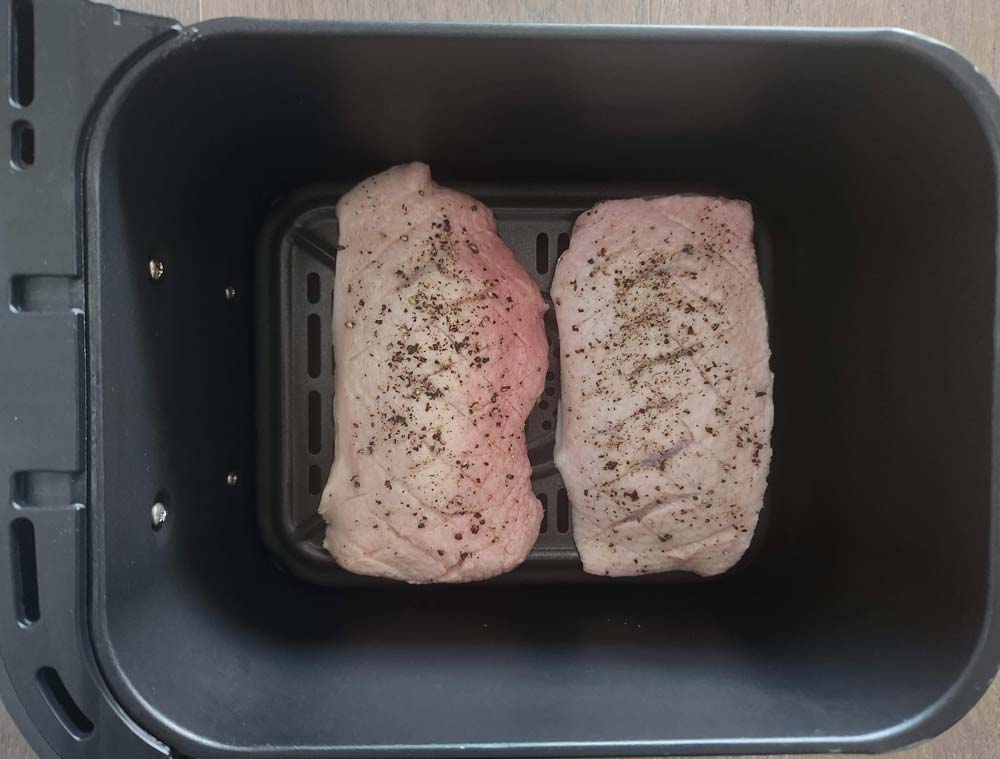
Preheat the air fryer to 400°F (200°C) for 5 minutes. Even if it’s not typically necessary for you to preheat your air fryer, don’t skip this step. It’s important to make sure the skin gets crispy and the fat gets properly rendered.
Place the seasoned duck breast in the air fryer, skin side up. Cook for 10 minutes. This should help crisp up the skin. Turn the temperature down to 350°F (175°C) and cook for another 5-10 minutes.
Use a meat thermometer to check the internal temperature. For medium, aim for 145°F; for medium-well, go for 155°F; for well-done it’s 165°F.
Step 3: Rest
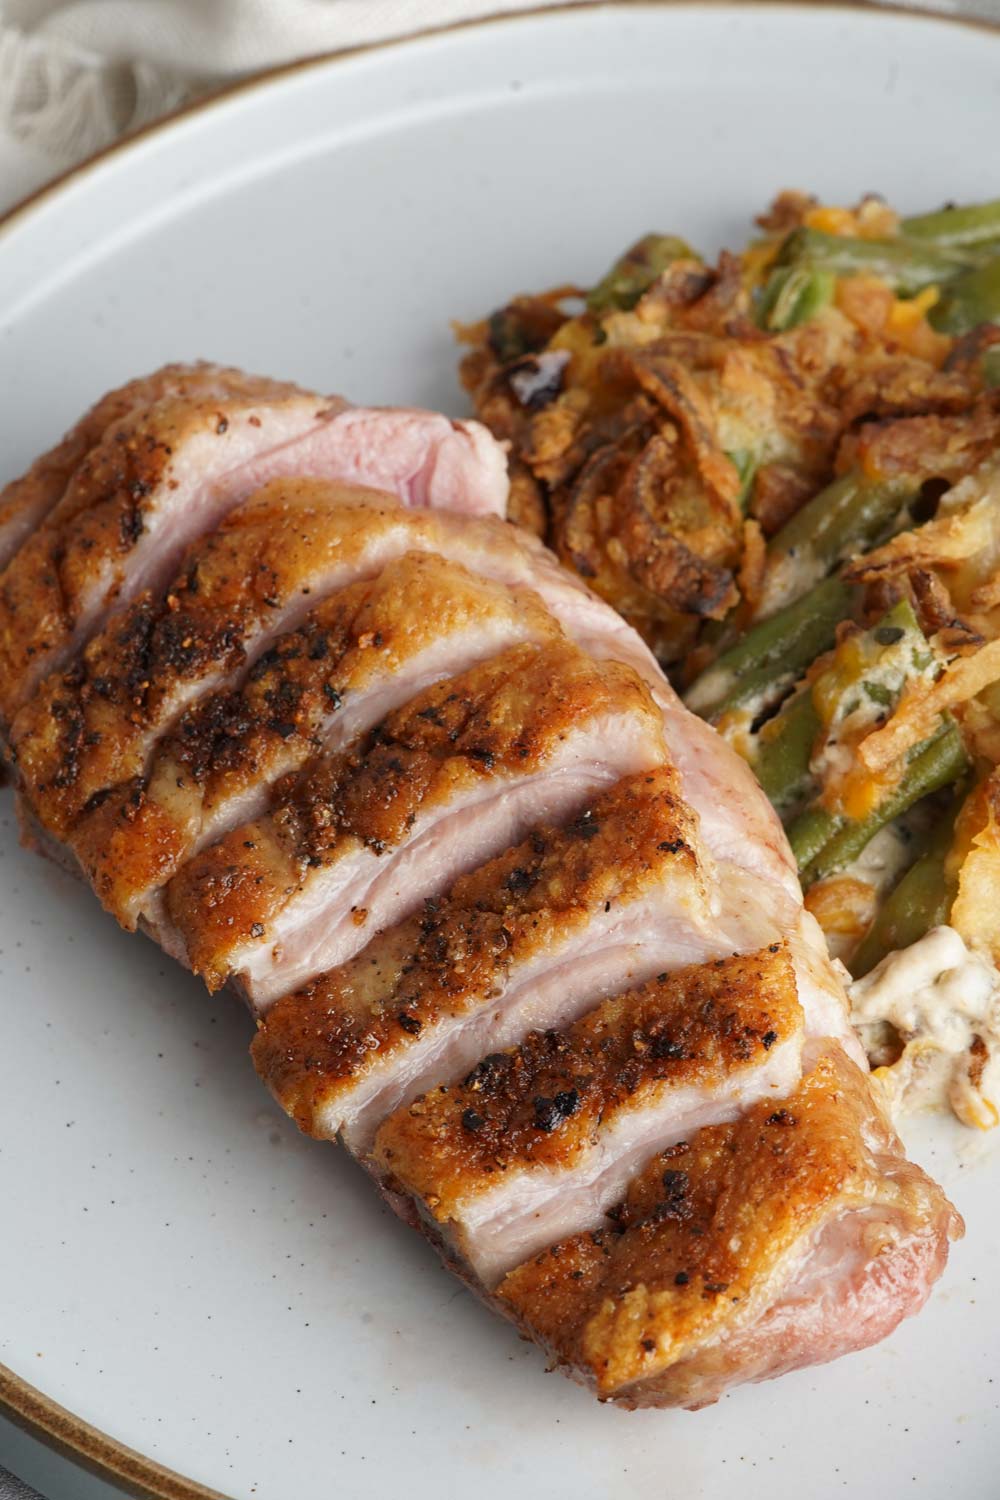
Cover the duck breast with foil and let it rest for 10 minutes before slicing and serving. This is necessary to allow the duck to retain its juices. If you cut right in, you’ll see how much of the juices are released unnecessarily.
» You might like this Air Fryer Green Bean Casserole pictured above.
How to Store & Reheat
If you’ve got leftovers, once they are cool, place them in an airtight container and refrigerate. The duck will keep for about 4 days in the refrigerator when stored properly. It’s best to store leftovers before the meat has been sliced, which will make it much easier to reheat.
When you’re ready to eat the leftovers, reheat in the air fryer at 320°F (160°C) for about 4-5 minutes to revive that crispy skin and tender meat.
You can also reheat the leftovers in a pan on the stovetop over medium high heat. Cook it longer on the skin side than the meat side, so you don’t dry out the meat, but are able to crisp the skin again.
Questions About the Recipe
Do I have to score the skin?
Scoring the skin helps to render the fat and achieve that ultra-crispy texture. So while you technically could skip this step, it’s highly recommended for the best results.
Can I marinate the duck breast?
Absolutely, a simple marinade can add another layer of flavor, but keep in mind that this recipe aims to let the natural flavor of the duck shine.
What if I don’t have a meat thermometer?
While a meat thermometer removes the guesswork, you can also do a touch test: Press the duck; it should feel firm but with a slight give for medium. For well-done, it should feel quite firm with little to no give.
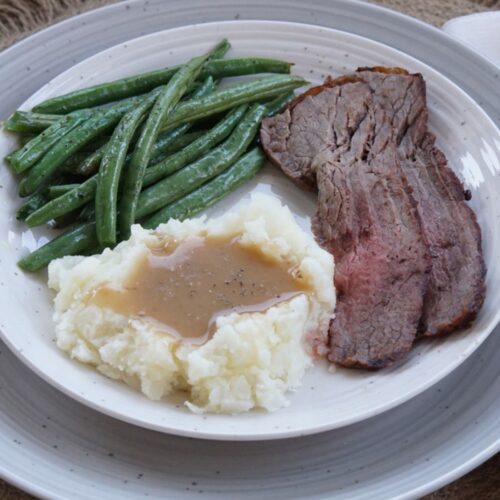
What Side Dishes to Serve?
You can serve some really easy side dishes with your main dish cooked in the Air Fryer. Sometimes, you can cook them together in the air fryer to make it even faster.
Some of our favorite side dishes to serve include:
- Air fryer cauliflower
- Air fryer baked potatoes
- Brussels sprouts
- Corn on the cob
- Crispy smashed potatoes
- Cottage fries
Here are 30 more air fryer side dishes to try
YOU MIGHT ALSO LIKE


Like this recipe? We’d love for you to share it with your friends on social media. For more great recipes, follow us on Pinterest and Facebook, where we share our recipes daily.
Air Fryer Duck Breast
Equipment
- Kitchen Tongs
- Meat thermometer
Ingredients
- 2 duck breasts boneless skin on
- 1/2 teaspoon (3 g) salt
- 1/4 teaspoon (0.5 g) ground black pepper
Instructions
- Pat dry the duck breast dry with paper towels; you want the skin as dry as possible.
- Take a razor-sharp knife and score the skin in a crisscross pattern. Be careful to only cut the skin and not the underlying meat.
- Season it well with salt and ground black pepper.
- Preheat the air fryer to 400°F (200°C) for 5 minutes. Place the duck breast in the air fryer, skin side up. Cook for 10 minutes. Turn the temperature down to 350°F (175°C) and cook for another 5-10 minutes. Use a meat thermometer to check the internal temperature. For medium, aim for 145°F; for medium-well, go for 155°F; for well-done it’s 165°F.
- Cover the duck breast with foil and let it rest for 10 minutes before slicing and serving. This is necessary to allow the duck to retain its juices.
Notes
- To achieve that crave-worthy crispy skin and properly rendered fat, thoroughly dry the duck breast with paper towels before placing it in the air fryer; any moisture will inhibit crisping.
- I’ve found that cooking at a lower temp doesn’t yield the crisp skin I’m aiming for. Stick to 400°F for optimal results.
- The USDA recommends cooking duck breasts to an internal temperature of 165°F/ 74°C, which is well done. That’s overkill to me. I prefer my duck breast at a lower temp of 135°F for medium.
- You do not need to spray the basket or the duck with oil or preheat the basket.
All air fryers have different wattage and may cook at different rates. You may need to adjust the time or temp for the best results.
Nutrition

Laura is a passionate foodie and owner of Air Fry Anytime She is dedicated to sharing delicious recipes and helpful tips for using air fryers at home. With years of experience in the kitchen and a love for healthy, flavorful cooking, Laura has become an expert at using air fryers to create amazing meals that are both nutritious and delicious.