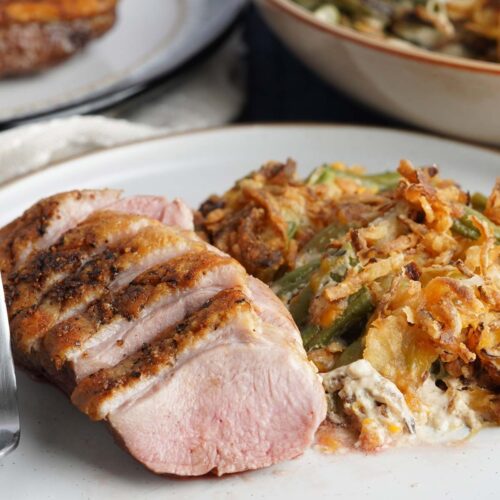
Air Fryer Duck Breast
Air Fryer Duck Breast is crispy-skinned and tender, made right in your air fryer. Elevate your dinner game with this surprisingly easy dish that'll make you feel like you're dining in a five-star restaurant.
Equipment
- Kitchen Tongs
- Meat thermometer
Ingredients
- 2 duck breasts boneless skin on
- 1/2 teaspoon (3 g) salt
- 1/4 teaspoon (0.5 g) ground black pepper
Instructions
- Pat dry the duck breast dry with paper towels; you want the skin as dry as possible.
- Take a razor-sharp knife and score the skin in a crisscross pattern. Be careful to only cut the skin and not the underlying meat.
- Season it well with salt and ground black pepper.
- Preheat the air fryer to 400°F (200°C) for 5 minutes. Place the duck breast in the air fryer, skin side up. Cook for 10 minutes. Turn the temperature down to 350°F (175°C) and cook for another 5-10 minutes. Use a meat thermometer to check the internal temperature. For medium, aim for 145°F; for medium-well, go for 155°F; for well-done it's 165°F.
- Cover the duck breast with foil and let it rest for 10 minutes before slicing and serving. This is necessary to allow the duck to retain its juices.
Notes
- To achieve that crave-worthy crispy skin and properly rendered fat, thoroughly dry the duck breast with paper towels before placing it in the air fryer; any moisture will inhibit crisping.
- I've found that cooking at a lower temp doesn't yield the crisp skin I’m aiming for. Stick to 400°F for optimal results.
- The USDA recommends cooking duck breasts to an internal temperature of 165°F/ 74°C, which is well done. That’s overkill to me. I prefer my duck breast at a lower temp of 135°F for medium.
- You do not need to spray the basket or the duck with oil or preheat the basket.
All air fryers have different wattage and may cook at different rates. You may need to adjust the time or temp for the best results.
Nutrition
Calories: 279kcalCarbohydrates: 0.2gProtein: 45gFat: 10gSaturated Fat: 3gPolyunsaturated Fat: 1gMonounsaturated Fat: 3gCholesterol: 174mgSodium: 710mgPotassium: 609mgFiber: 0.1gVitamin A: 121IUVitamin C: 14mgCalcium: 8mgIron: 10mg
Tried this recipe?Let us know how it was!
